Last Updated: November 2026
A heat pump installation runs in six steps: a site visit with a load calculation, a written estimate, permits, install day, start-up readings and the city's inspection. Most single-system installs take one to four days on site, longer when duct work or a panel upgrade is part of the job.
With Sundog, you get the load numbers after the visit, an estimate with every item on its own line, and at the end the start-up readings, model numbers and rebate paperwork. The ducted installation page shows a full job from visit to retest.
Before install day
Most of what makes an install go well happens before anyone carries equipment into the house.
The visit
A room-by-room load calculation, static pressure and duct checks, the panel and the outdoor spot. See heat pump sizing for what the calculation covers.
The written estimate
Model numbers and capacity at low temperatures, duct and electrical work, permit, removal, pad or stand and start-up checks, each on its own line.
Rebates
We check what applies to your address before the estimate is final. The incentive checklist lists what programs usually ask for.
Permits
Aurora requires a mechanical permit, plus an electrical permit for new circuits or panel work. The city sets fees by scope.
Install day, in order
The sequence matters: each step is checked before the next one hides it.
| Step | What happens | Why it matters |
|---|---|---|
| Protect and remove | Floors covered; old outdoor unit, coil or furnace removed and refrigerant recovered | Recovered refrigerant never vents to the air |
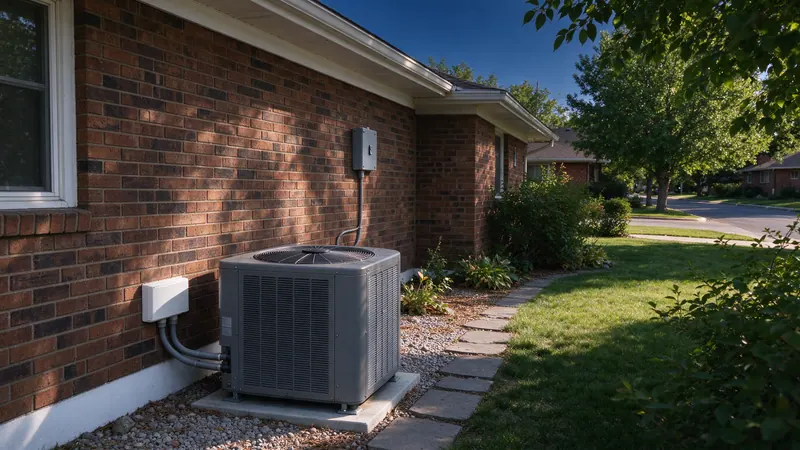
| Set the outdoor unit | Pad or stand above the snow line, out of the roof drip line | Keeps the coil breathing and draining in winter |
| Set the indoor side | Air handler or matched coil, condensate drain and filter rack | The indoor and outdoor units must be a rated match |
| Line set | New lines, or existing lines checked and flushed where reuse is allowed | Old oil and debris harm a new compressor |
| Pressure test | Brazed joints held under nitrogen pressure | Finds leaks before refrigerant goes in |
| Evacuate | Deep vacuum to the manufacturer's target, often 500 microns, held on a decay test | Removes moisture and air from the system |
| Wire and charge | Circuits, disconnect and controls; charge set by the manufacturer's method | Correct charge is what delivers the rated output |
Refrigerant: what changed and what it means for you
Under EPA's Technology Transitions rule, new residential split systems have moved from R-410A to refrigerants with a lower climate impact, mainly R-454B and R-32.
Mildly flammable, handled by the book
These refrigerants are rated A2L, mildly flammable. The equipment carries its own leak sensors and installation rules, and the install follows the manufacturer's instructions for them.
Can the old line set stay?
Sometimes. It depends on its size, condition, routing and what the new manufacturer allows. When reuse is allowed, the lines are flushed and tested; when not, new lines go in and are priced as a line on the estimate.
Setting the airflow
A variable-speed air handler ships with factory settings that assume average ducts. Your ducts are not average, so the airflow is set to the house.
What gets set
The blower's airflow per ton for heating and cooling, any dehumidification setting for summer, and the strip heater's airflow so the backup doesn't overheat. Each one is chosen from the equipment's tables and the static pressure measured on the visit.
How it is checked
Static pressure is read again with the new blower running and compared with the visit. If duct work was part of the job, this is where it shows: on the Littleton job, the reading after the return fix sat well below the 0.9 found at the start.
Want your own number? We start from your house and your bills.
Get an EstimateStart-up readings you should get
Commissioning is the step that proves the install. We record these readings and leave them with you, along with the model numbers.
- Static pressure and airflow at the blower, compared with the visit
- Temperature split across the indoor coil in heating and cooling
- Refrigerant charge readings by the manufacturer's method
- Voltage and amp draw at the outdoor unit and any strip heat
- Backup lockout and changeover settings, and a defrost check
- Thermostat set up for the heat pump and its backup stages
Inspection and paperwork
The city inspects the permitted work after start-up. Two piles of paper come out of the job.
For the city
The mechanical permit, inspected under the 2021 International Mechanical Code Aurora has adopted, and the electrical permit for any circuits or panel work.
For you
Model numbers, the start-up readings and the rebate paperwork. Keep them with the house records; a later maintenance visit compares against them.
What stretches the schedule
The one-to-four-day range covers most single systems. These are the items that push a job toward the long end, and all of them show up on the estimate in advance.
Inside the house
A second return cut through a wall, crushed runs replaced in a crawlspace, or a new furnace installed with the heat pump in a dual-fuel system.
Outside and at the panel
A long line-set route, a wall bracket instead of a ground stand, or a panel or service upgrade that needs the utility to schedule a meter change.
Getting the house ready
A little preparation shortens install day. Our blog post on preparing for install day has the full list.
Inside
Clear a path to the furnace and the panel, and move anything stored around them.
Outside
Clear the spot for the outdoor unit and the route along the wall to it.
Heat while we work
If the furnace is staying, it usually runs again by the end of the day. If it is being replaced, we plan the cut-over so the house is without heat for as short a time as possible.
Planning your install
Call Sundog at (719) 417-2475 or book an estimate visit to start with the measurements. For the bigger picture, read the Aurora planning guide; for the parts that most often change the scope, see ductwork and the electrical panel.
Get an EstimateQuestions people ask
How long does a heat pump installation take?
Most single-system installs take one to four days on site. Duct corrections, a new furnace or a panel upgrade add time, and the schedule is on the estimate.
Do I need to be home during the install?
Someone needs to let us in, be reachable during the day and be there for the walk-through at start-up, when we go over the thermostat and the readings.
Will I be without heat during the install?
For part of a day at most in most jobs. In cold weather we plan the cut-over around the forecast and the work involved.